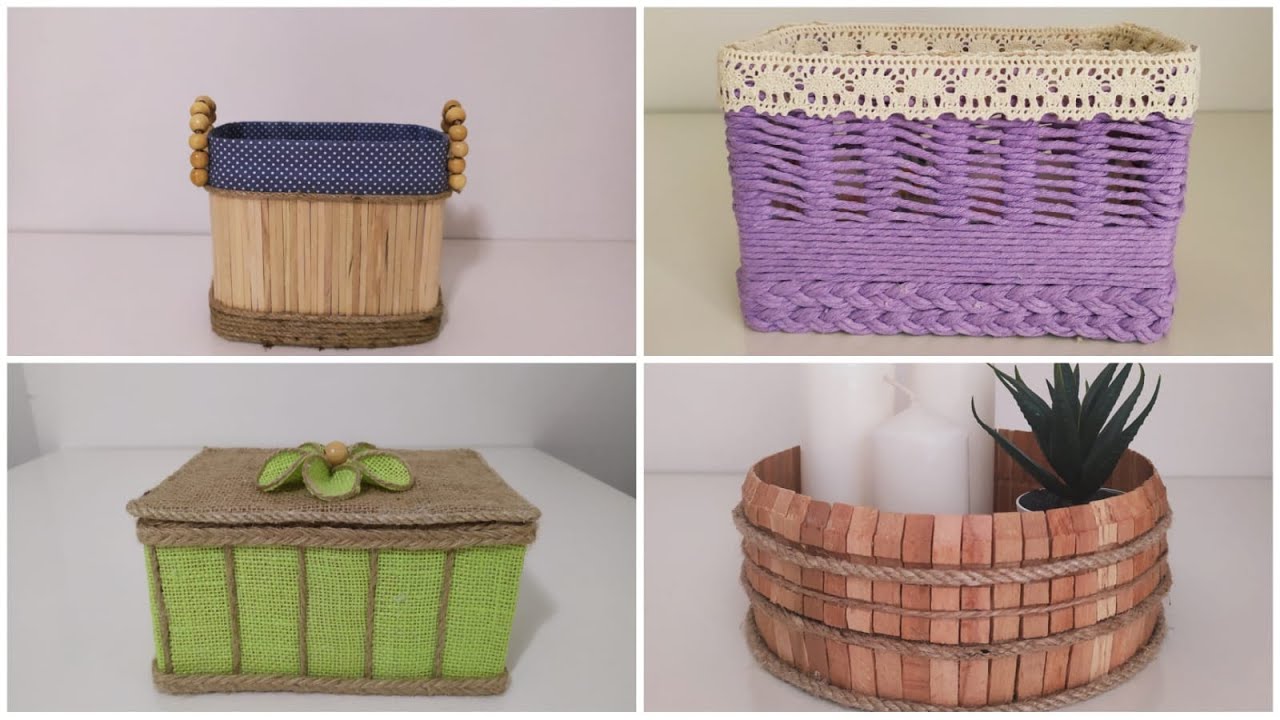
Create 4 Stunning Baskets with Jute Rope – Simple DIY Projects You’ll Love!
Create Beautiful Baskets with Jute Rope: Simple DIY Projects You’ll Love
- Introduction
- Materials Needed
- Step-by-Step Instructions
- Creative Variations for Your Baskets
- Common Mistakes to Avoid
- FAQ
- Conclusion
Introduction
Have you ever looked around your home and thought about how cluttered it feels? It’s all too easy for things to pile up, leaving your space feeling chaotic. Creating your own storage solutions not only helps you stay organized but also adds a personal touch to your decor. One delightful way to achieve this is by crafting beautiful baskets using jute rope. Keep reading to explore simple yet effective ways to make these stunning baskets.
Materials Needed
Before diving into the crafting process, it’s essential to gather everything you need. Here are the primary materials that will help you create your jute rope baskets:
- Jute rope: Choose a thickness that suits your desired basket size.
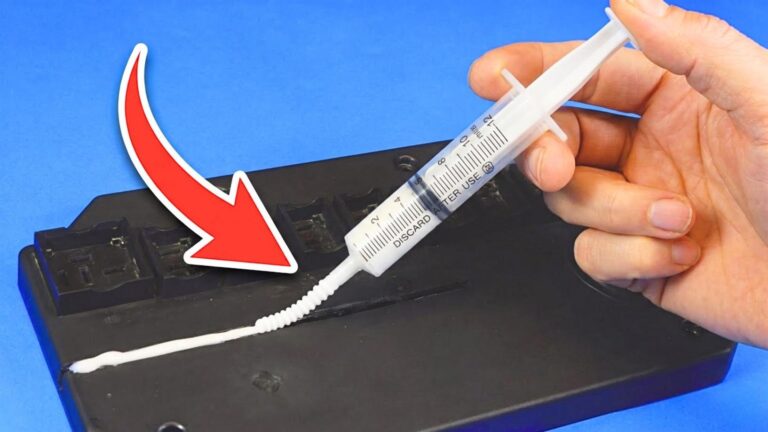
- Hot glue gun: This will secure your jute rope as you build your baskets.
- Scissors: For cutting the jute rope to the appropriate lengths.
- Optional embellishments: Consider beads or fabric for a personalized touch.
Step-by-Step Instructions
Now that you have your materials ready, follow these detailed steps to craft your jute rope baskets:
1. Basic Basket
- Cut: Start by cutting a length of jute rope, about 10-15 feet, depending on the basket size you desire.
- Coil: Form a circle with the jute rope and start coiling it from the center to build up the sides.
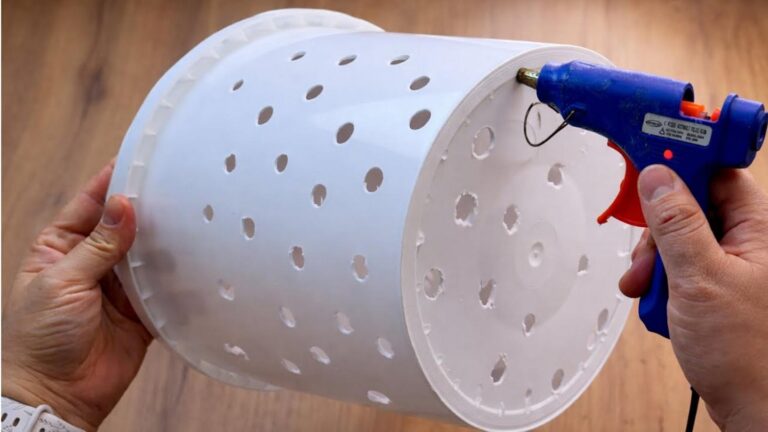
- Glue: Use the hot glue to secure the coils together as you build, adding more rope as you go.
2. Square Basket
- Cut: For a square basket, cut several lengths of jute rope, each about 4-5 feet long.
- Weave: Begin weaving the jute by creating a square base, gluing the corners together.
- Build: Continue coiling upward, giving the basket more height and stability.
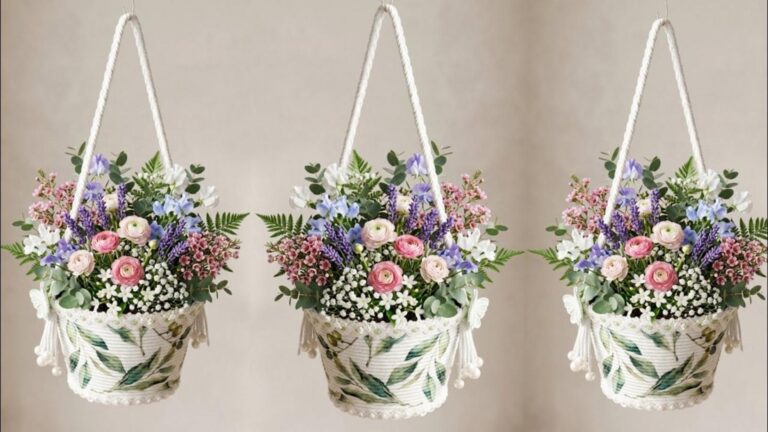
3. Decorative Basket
- Choose: Select a base color for your jute rope and optional fabric or paint for decoration.
- Wrap: Instead of using only jute, wrap colorful fabric strips around sections for a vibrant look.
- Finish: Secure the ends of the fabric strips with glue for a polished finish.
4. Laundry Basket
- Measure: Consider how large you want the laundry basket to be to accommodate your needs.
- Coil: Start with a larger base and build taller sides for an effective and stylish solution.
- Stabilize: Use extra glue to ensure the sides are stable enough to support your laundry.
Creative Variations for Your Baskets
Looking to personalize your jute rope baskets even further? Here are some variations you can try:
- Colorful Accents: Incorporate bright ribbons or paint to add a splash of color.
- Handle Options: Attach jute or fabric handles for easy transport.
- Different Sizes: Experiment with various rope lengths to create nested baskets.
Common Mistakes to Avoid
While crafting your jute rope baskets can be rewarding, it’s essential to be aware of common pitfalls. Here are some mistakes to avoid:
- Insufficient glue: Not using enough glue can cause your basket to fall apart.
- Poor material selection: Using low-quality jute rope may lead to a less durable final product.
- Ignoring measurements: Failing to properly measure the size can result in awkwardly shaped baskets.
FAQ
What type of jute rope is best for crafting? Look for jute rope that is thick enough to stand without sagging but flexible enough to easily coil.
Can I wash my jute baskets? It’s best to spot clean with a damp cloth to avoid damaging the jute material.
How can I reinforce my basket’s shape? Add more glue between the coils and consider an inner lining for extra support.
Conclusion
Creating your own jute rope baskets is a fantastic way to organize your space while adding a personal touch to your decor. By following these steps and avoiding common mistakes, you can craft stunning storage solutions. What unique design will you try first in your home?