This forgotten trick restores broken plastic items to their original state…
This Forgotten Trick Restores Broken Plastic Items to Their Original State
Have you ever faced the frustration of a broken plastic item? Whether it’s a favorite container, a toy, or a piece of furniture, these accidents can feel like a loss. Fortunately, there’s a simple solution that can bring your broken plastic items back to life! In this article, we’ll explore a **DIY method** using liquid plastic that can restore your items to their original state. Let’s dive in!
Step-by-Step Guide to Restoring Plastic Items
Gather Your Supplies
Before getting started, you’ll need to collect a few **essential supplies**:
- Liquid plastic adhesive
- Sandpaper (fine grit)
- Cloth or sponge
- Protective gloves
- Masking tape
Cleaning and Preparing Your Item
Begin by cleaning the broken plastic item thoroughly. Use a cloth or sponge to remove any dirt, grease, or residue. This ensures that the liquid plastic adheres properly.
Next, if there are any jagged edges, gently sand them down. This will help achieve a smooth finish once the repair is complete.
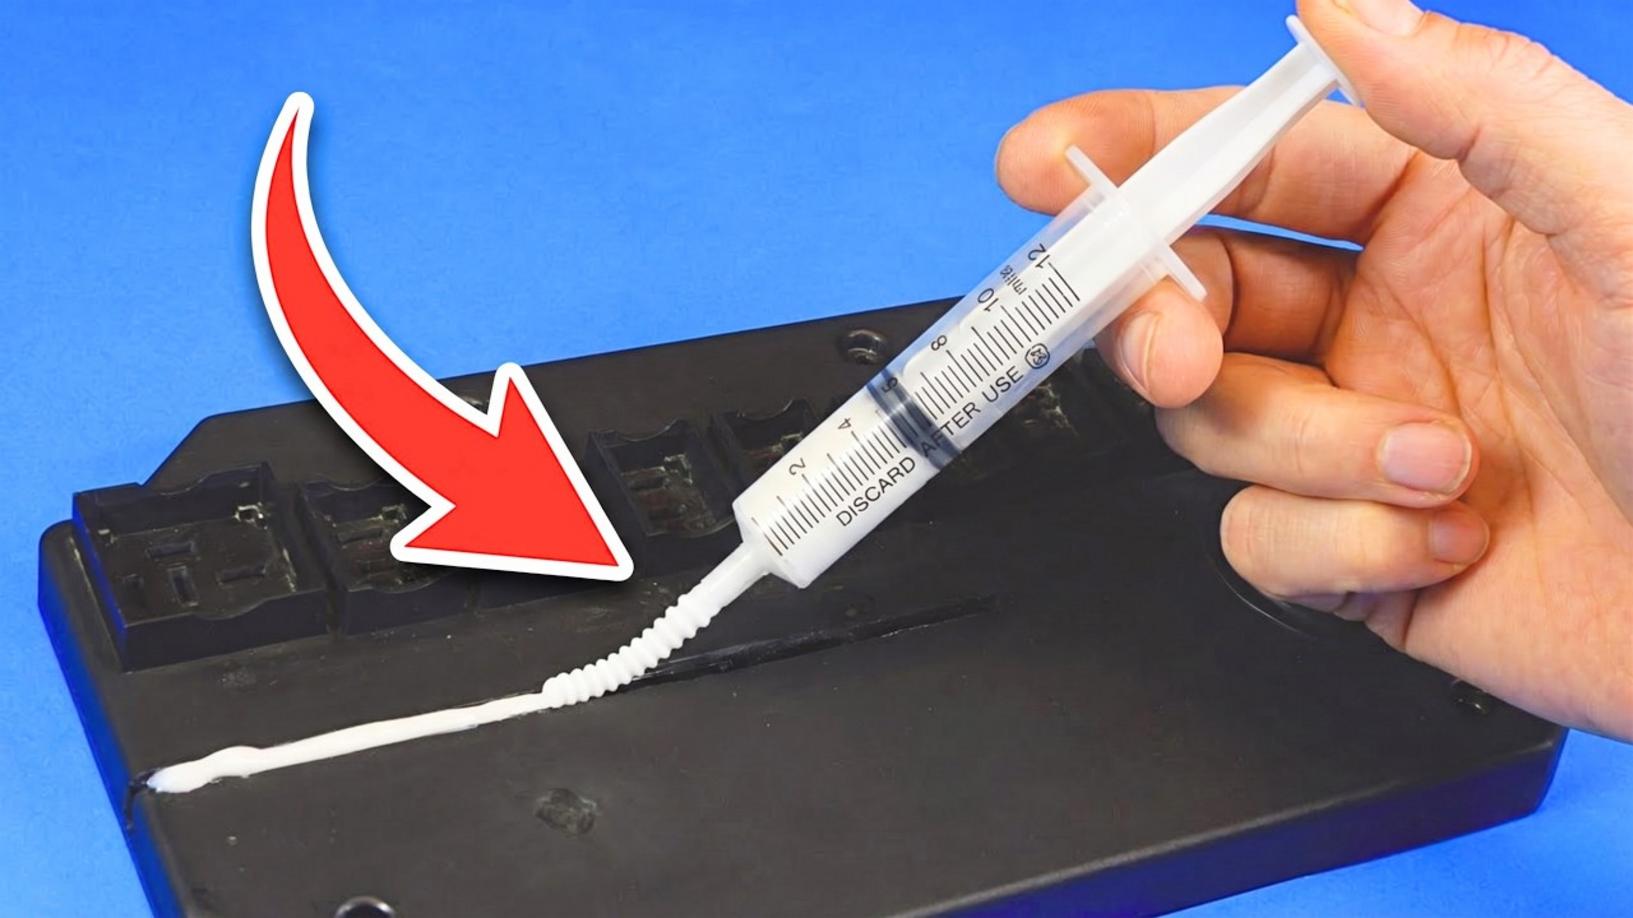
Applying Liquid Plastic
Once your item is clean and prepped, it’s time to apply the liquid plastic:
- Put on your protective gloves to avoid any skin contact.
- Using a small brush or spatula, carefully apply the liquid plastic to the broken areas.
- Be generous but avoid excess to prevent drips. You can use masking tape to protect areas you don’t want to be covered.
Allow it to cure as per the instructions on the product label, usually around 24 hours for a full bond.
Finishing Touches
After the curing period, check the repaired areas. If necessary, lightly sand the surface again for an even finish. If you desire, you can paint the area to match the original color of your plastic item. This step is optional but can significantly improve the aesthetics of the repair.
Practical Tips for Success
Here are some practical tips based on experience:
- Always test the liquid plastic on a small, inconspicuous area first to ensure compatibility.
- Make repairs in a well-ventilated area to avoid fumes from the liquid plastic.
- Stay patient during the curing process. Rushing can lead to poor results!
Common Mistakes to Avoid
While this method is straightforward, there are a few common mistakes to watch out for:
- Not cleaning the surface properly can affect the bond.
- Using excessive liquid plastic may create an uneven finish.
- Disregarding cure times can lead to a weak repair.
Conclusion: Revive Your Broken Plastics Today!
Don’t let broken plastic items take up space in your home. With this **forgotten trick**, you can restore them to their glory and save money in the process. Why throw away what can be fixed? Gather your supplies, follow the steps, and embrace the rewarding experience of DIY restoration!
Feeling inspired? Try this technique today and share your successful repairs with friends and family. Subscribe to the Creation Holic channel for more amazing DIY ideas and tips!